Sunday, 8 August 2021

Carburettor Rebuild

 New kit for the Motorcraft 2100 series 2v carby

The job list for this weekend has 3 tasks. 

  • Rebuild the carby and add / replace the fuel filters
  • Grease the upper front wishbone bushes
  • Move the Oil pressure, Engine temp and tacho gauges as they are hard to see.

First up is the carby. 

The poor old carby looks very second had and very grimy. There is a significant amount of carbon build up on the carby and the vacuum port on the inlet manifold.


I took a number of pictures during the disassembly process.


The warm air line that goes from the inlet manifold to the coke was badly rusted so I have removed it and not reinstalled it.

After 3 cans of carby clean and a can of brake clean, then cleaning and reassembly, the carby looks and more importantly, works much better.


Once all the glamor shots were taken, the carby was reinstalled and after a bit of cranking to fill the fuel bowls, the engine fired up and now runs really nicely.

Next job to grease the front end.

As the standard upper arms just have blanks in the place of grease nipples, I purchased some right angle grease nipples and installed them to grease the front end. This fixed the problem instantly.


As I was only able to purchase 2 right angle grease nipples, I removed the plugs, installed the nipple and then greased the joint, then removed the nipple and moved on to the next one. I greased the top and bottom ball joints while I was at it.

Then finally, I moved the 3 gauges from under the dash to under the heater controls. While the original location meant that they were out of the way, the issue was that they were too far out of the way and the steering wheel blocked the view. The left gauge is the tacho and illuminates when the car is running.

The new location is much better.


While in Knoxfield, I stopped by the VASS guys place to pick up the VASS stocker. This has been placed on the car and I await the paperwork for the VASS from him. This will be done this week.

That then brings me to the end of tasks for the roadworthy. I have booked the car in to get a roadworthy on Tuesday this week. Then I need to take the car to the Mustang Club registration coordinator in Melton and then onto Vicroads to register it.

 

Tune to Cleveland Radio on the 351 band

 New Exhaust.

As part of the roadworthy tasks, the exhaust system from the factory cast headers to the back of the car needed to be placed.

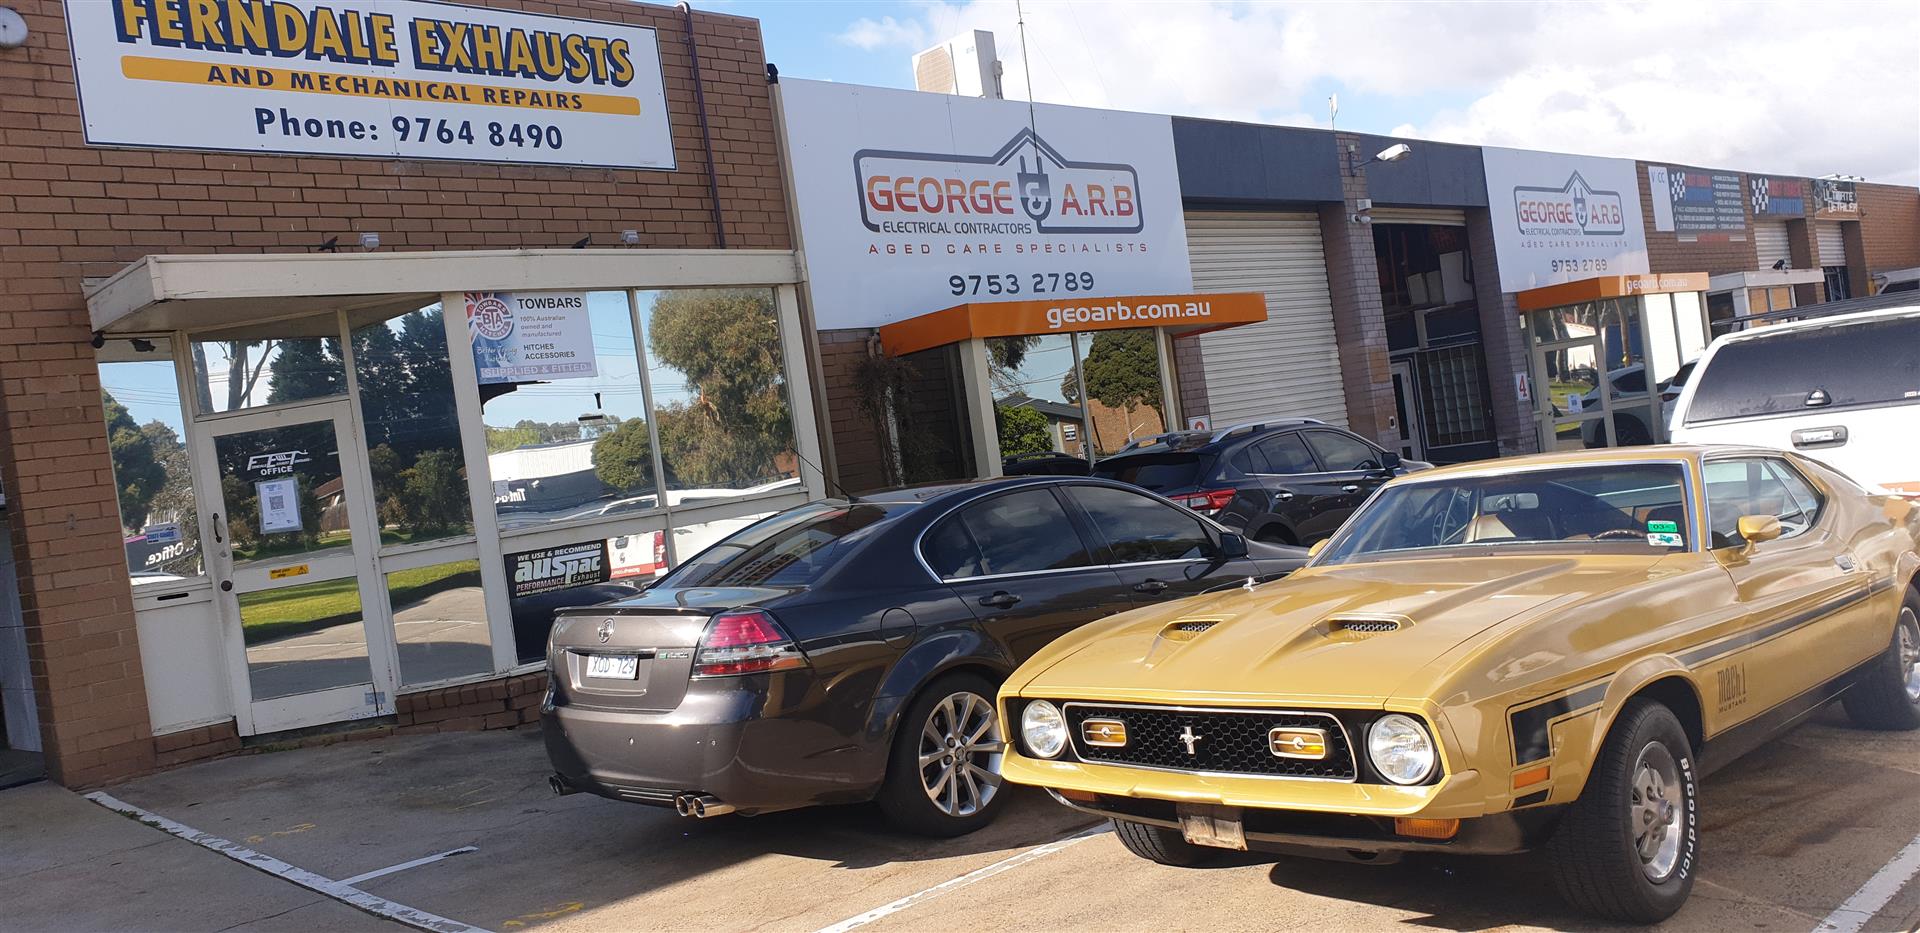
For this task, I enlisted the help of a old friend Chris as Ferndale Exhausts.

I took the car to Knoxfield and left it with Chris with the instructions to replace the factory single system with a twin system and add XA / XB GT Falcon exhaust tips for good measure.

As I did not want to alter the factory stone tray, I opted for the tips to be set up just below the stone tray.

One day, if I can get a second hand stone tray, I may modify it and make cut outs for the exhaust. For now it looks and more importantly sounds great.

The twin system should help the big 351 to breath a bit better.


While driving to and front Knoxfield I experienced some engine issues where it developed a miss. I suspect that the issue is fuel starvation, so have purchased a carburettor rebuild kit for the factory Motorcraft 2100 series carby. Also, while on the return drive from Knoxfield, the front end developed a familiar squeak. Both jobs are tasks for this weekend. 


Saturday, 24 July 2021

Bottom of rear quarters - Repair

 Rust removal

One key task to complete for the roadworthy was to repair the rust in about the only place the car has it. Thats the bottom of the rear quarters. The right rear had been done before and had all fallen out. The long term plan is to replace the drop sections from the inner rail and the bottoms of the rear quarters.

The short term plan is to just repair with aluminium mesh and body filler. This is my first attempt at body repair, so a watched a few Youtube videos and rolled up my sleeves.

Per the pictures below, the situation on the right rear was fairly bad.

The first few pictures show how it was before I started.


These show the work needed once all the body filler and small aluminium plates were removed from the last repair job.


Here are the pictures of the left rear.


I cleaned up as much rust as I could. I used rust converter and cleaned up the surface.
Then I used aluminium fly screen in the bottoms to form up where the body should be. This also provided a base for the body filler to stick to. I used the body filler on the insides of the guards to hold the mesh in place and then set about filling from the outside.
As per the pictures the right rear really needed the mesh to make a base.

Once repair was completed I used 40, then 80 then 120 then 240 sand paper to get a smooth surface.
Then I masked up the area and added a rattle can primer. Then completed another 240grit sanding.
Then on with the gloss goat. I added 2 coats of gloss.


Here is the end result.
It is not perfect by any means and not body shop quality (if you get right up a personal with it), but it will do the job for now.


While I was at it, the rear stone tray was fairly poor with paint chips and a white surface on it.
As seen here.

As the newly painted rear quarters sit along side the stone try, and as I had it removed to complete the repair, I sanded back the stone tray and then painted it with primer and then gloss paint. While again, it is not perfect, from 5ft away, it looks ok and matches the patina of the rest of the car.


The next task is the exhaust, then roadworthy and registration. 
Then off to the parties we go.


Rear indicator conversion

 Better with amber.

The stock build of US mustangs for the stop lights and indicators is for the stop lights to flash when the indicator is turned on. While it is perfectly legal for my 1972 Mustang to retain its red flashing indicators to register it here in Australia. The main concern is that no other cars (or next to no cars other that old US imports) have flashing red indicators. So the worry is that people will not recognise the flashing as an indicator and run up the back of the car. Up until now I had been keen to keep the tail lights and wiring standard. 

I gave up on the idea of stock lights and devised a way to stop the brake lights from flashing and add a Amber globe (LED) to the centre clear section

After studying the wiring diagram I determined that I could run 2 wires from the wiring harness that plugs into the steering column loom to the back of the car and connect them to new LED's that I installed into the centre section that has a clear lens for the reversing light.

I then also need to cut and join the wires that go from the brake switch to the 2 wires that go to the stop lights at the back and remove the indicator switch from the circuit. 

While I hate cutting factory loom wires, I figured that this needed to be done as I would not be going back to red flashing stop lights for indicators.

Here are a few pictures of the install and the end result.


A while back I installed LED lights in the dash. Here is a night time picture of the end result.


This weekend I am also finishing the repair of the rust in the rear quarters. The plan is to just repair them with body filler. Then once the car is road worthy and I have time, I will get new lower rear quarters and do it properly.

Here is a picture of what needs to be repaired. As can be seen, a repair has been done before and the rust is now significantly worse.


More pics to follow of the rust repair.

Saturday, 10 July 2021

Rear seatbelt install


 More work completed

After a week away over school holidays with Michelle and Lily, I was able to get back to working on the Mustang. The task for today was to complete the rear seat belt install.

I had been thinking about trying to repair the rear plastics as they are chipped and brittle. 
I managed to get the local Autobarn to do a colour match for the paint but then decided that it was not a simple task and will probably require fibre glass work and a whole lot of messing around. So I stopped short and decided to just reinstall them as they are. My plan is to see if I can source a better set from a wrecker in the US.

Once I decided not to try and repair the back plastics I set to completing the install.

A few weeks ago I had installed the rear eye bolts for the removable section of the belts but was not happy with the way the bolts pulled in the rear sail panel. After a trip to Bunnings I decided that a simple steel collar  / pipe to hold the eye bolt out further would be the best bet. My preference is to source a longer eye bolt as it still pulls in the panel a little, but, the thread on the eye bolt is not the same as those that can be purchased from Bunnings or ebay, so I gave up on that idea also.

Here are a few progress pictures.

Fortunately, there is a hole in the inner rear quarter panel already pressed into the metal, so I did not need to drill a hole and the access to the bac to install the metal plate was simple also.


Here is the eye bolt a plate that needs to be installed.

Here is the plate installed with some small self tapper metal screws installed to hold it in place.


Here is the eye bot installed


I then painted the eye bolt the same colour as the trim so it blended in.


As can be seen, the plastic trim is cracked and broken in places.

I also painted a bunch of screws with wide heads and used them to hold the plastic trim in place. The original ones are small and were just pulling through.

Here is the belt installed


When not in use I push then back down into the cavity behind the plastics and just roll up the remaining buckle section.


As can be seen, the plastics are fairly marked and being ginger it stands out.

The next task is a front end alignment and then off to Ferndale exhausts for a new exhaust system.

Here is the settings needed for the front end


I have a new set of exhaust hangers from Just Mustangs. However, they attach to special mounts on the mufflers and I doubt Chris will have these types of mufflers. Here are a few pictures I have found where people have used the original OEM brackets and adapted them to fit.


Only exhaust and rust in the rear quarters to be completed before I go for the VASS and roadworthy cert.


The final piece to the AC puzzle

 The last push to finish the AC install. Now that all the engine bay work is done. The next step is to replace the heater box. Also, I have ...